![[Custom.Header.Lang_DE]](/images/lang_DE.png "[Custom.Header.Lang_DE]")
![[Custom.Header.Lang_FR]](/images/lang_FR.png "[Custom.Header.Lang_FR]")
![[Custom.Header.Lang_NL]](/images/lang_NL.png "[Custom.Header.Lang_NL]")
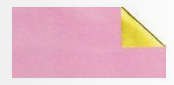


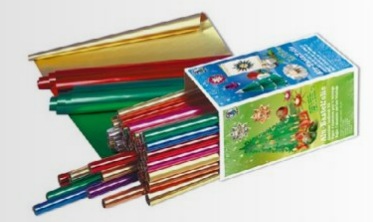


Aluminium craft foil 90gr 50x80 cm
Reference:003-013-0000038-003
- EAN: 4008525001584
- Brand: Ursus
- Color: Pink
- Size: 50x80
- Availability: 0 Piece
Price: 1.50 €
including VAT and exclusive shipping costs
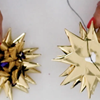
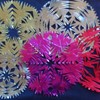
Let's make stars (see photo 2-8)
Material Vintage stars made from aluminium foil:
Aluminium foil
Pencil
Glue stick or liquid glue
thread / yarn
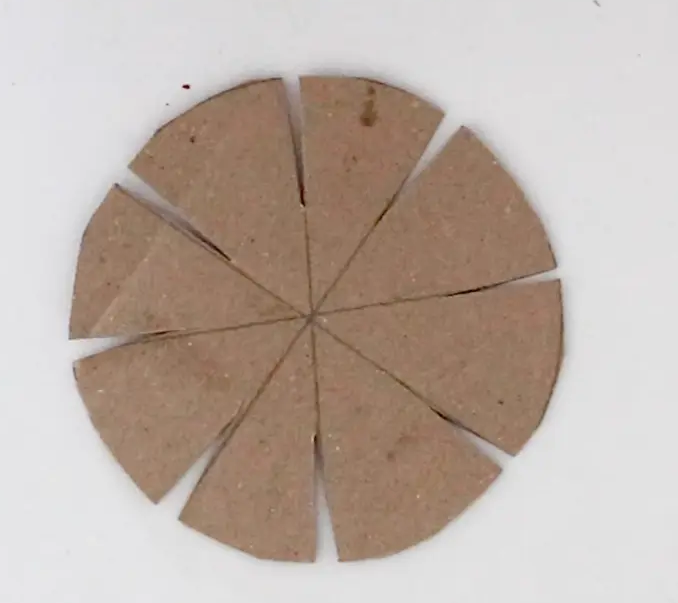
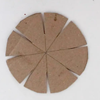
Transfer template onto cardboard
Either print out the template for making vintage stars out of aluminium foil with your printer and cut it out or make your own cardboard template. Of course, you can also transfer your printed template onto cardboard, for example a piece of shipping carton, and then cut it out again.
The advantage of a cardboard template is that it is much more stable and you can cut out a variety of star patterns with it.
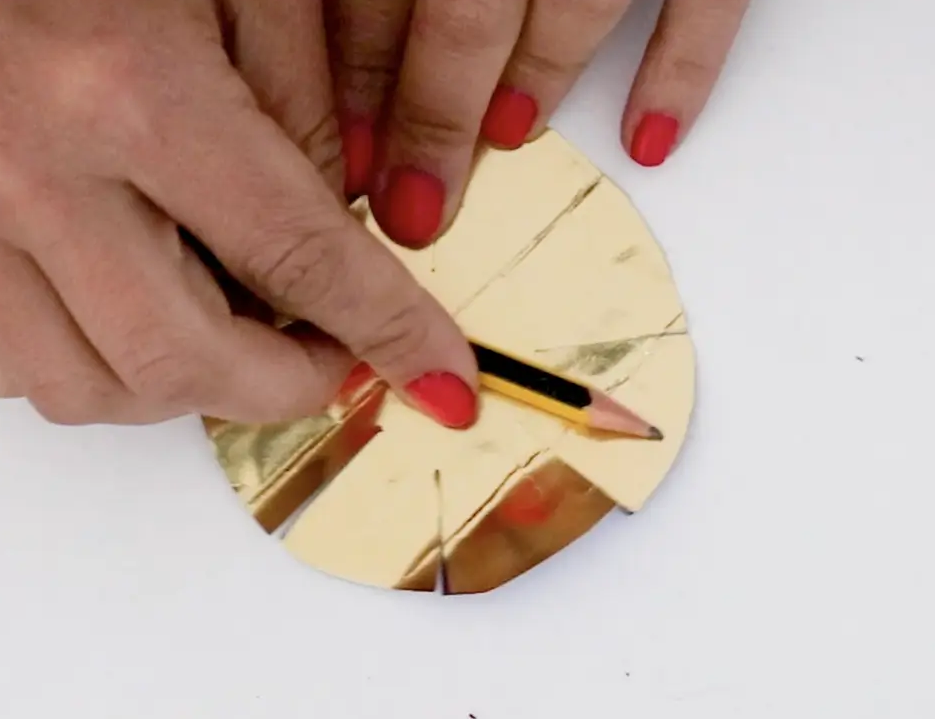
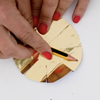
Transferring the template to aluminium foil
Now transfer your star template to the aluminium foil. Make sure that you only cut to a certain point.
Now grab your sharp pencil and place it on one of the cake elements.
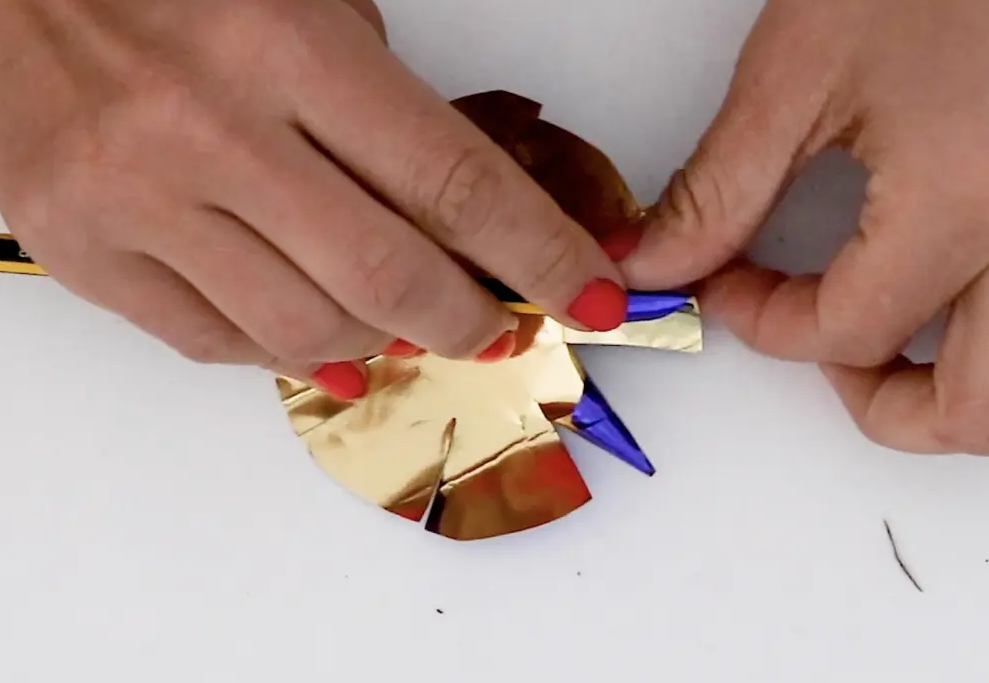
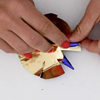
Screw in the tips of the star
Now turn in the points of the star. The pencil lies in the middle of the cut piece and you first turn one side of the piece around the pencil and then the other side.
Continue in this way until all the points of the star are turned in. Glue is not necessary here. Because of the material of the foil, the points should hold all by themselves.
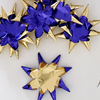
Fold several stars
Now make several of these stars. For a full star you need about 10-12 individual star elements. You can vary here, e.g. turn purple or gold-coloured points, depending on how you lay the gold foil.
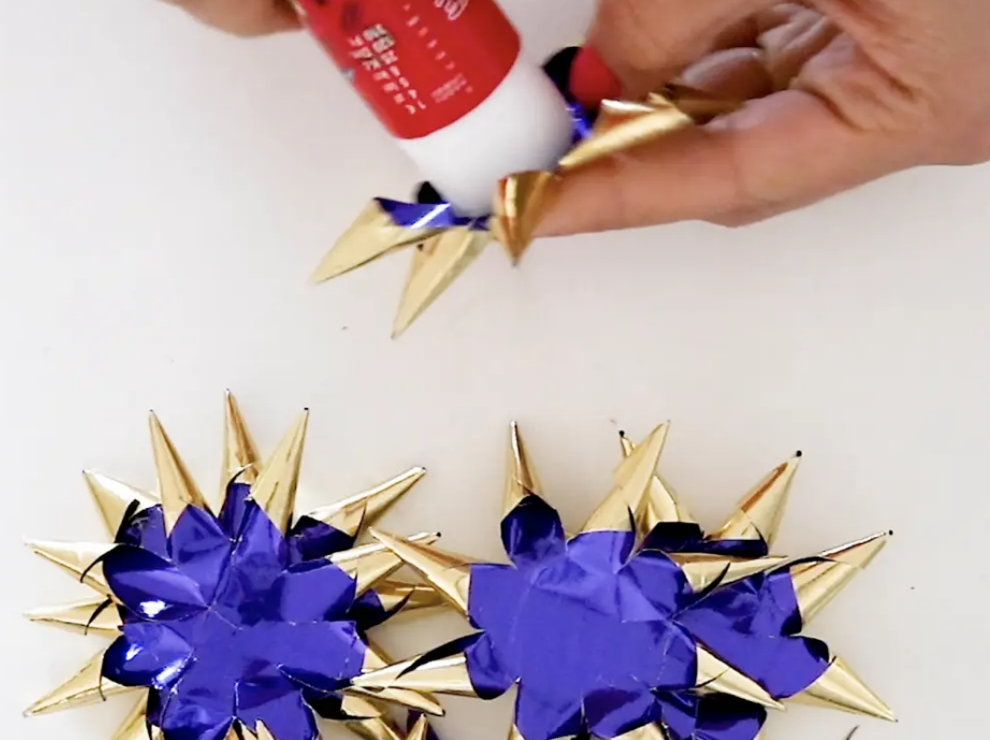
Glue the star together
Now we are almost done with the vintage stars made of aluminium foil. Next, glue the individual star elements together. Apply a little glue to the centre of the star element and stick another one on top of it until the star is completely filled.
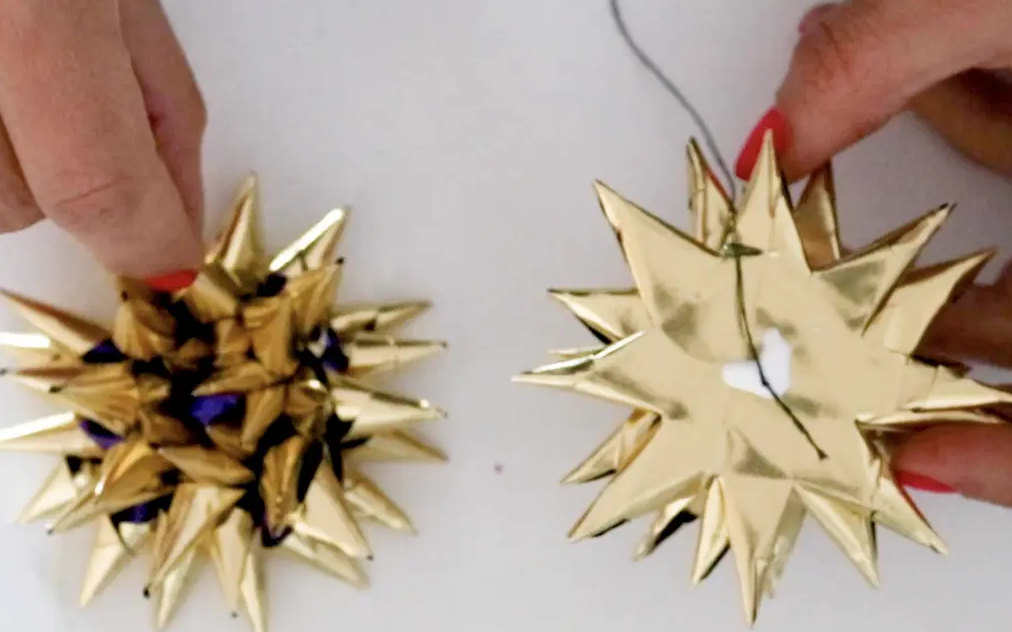
Make a full 3D star
If you want to make a full 3D star, you need two half stars, which you create according to the previous instructions for making vintage stars. Now glue a thread in the middle of the two halves of the star and then glue the stars together.
This way you can hang up your self-made star.